
Last updated: September 25, 2026
Build Target: A Single-Level C&C Cage for a Guinea Pig Pair
This blueprint uses a C&C-style frame—modular wire cube grids plus a corrugated polypropylene (coroplast/correx) tray—because it is easy to resize, clean and repair. The worked example is a 4-grid × 2-grid cage using approximately 13.7–14 in (35 cm) square panels. That produces about 55 × 28 in (140 × 70 cm), or roughly 10.5 sq ft of single-level floor space.
That footprint closely matches Blue Cross guidance of at least 5 ft × 2 ft / 10 sq ft for two female guinea pigs. For two males, plan larger: Blue Cross recommends at least 6 ft × 2 ft / 12 sq ft, so a 5×2-grid C&C footprint is a better starting blueprint than 4×2.
Do not count lofts as a substitute for floor area. Guinea pigs are ground-dwelling animals; Blue Cross and PetMD both emphasize usable single-level floor space. Build the main rectangle first, then treat ramps or lofts as optional enrichment.
Choose the Blueprint Before Buying Materials
| Household | Practical C&C starting size | Approx. floor area using 35 cm / 13.7 in grids | Why |
|---|---|---|---|
| Two females | 4×2 grids | ~140 × 70 cm / 55 × 28 in / ~10.5 sq ft | Matches Blue Cross 10 sq ft minimum closely |
| Two males | 5×2 grids | ~175 × 70 cm / 69 × 28 in / ~13.2 sq ft | Exceeds Blue Cross 12 sq ft recommendation for a male pair |
| Three guinea pigs | 5×2 minimum direction; larger preferred | ~13.2 sq ft before expansion | More animals need more space and duplicated resources |
| Indoor-only pair with no separate exercise area | Go substantially larger than 4×2 | Design toward a roomier pen/run footprint | Blue Cross recommends 6 ft × 4 ft / 24 sq ft when indoor guinea pigs have no separate run |
These are worked build sizes, not universal legal standards. PetMD currently lists 36 × 30 × 18 in as a minimum habitat and says 10.5 sq ft or more is preferred, while Blue Cross uses larger pair-based floor-space guidance. Patify uses the roomier pair-focused target because guinea pigs are social and normally should not be planned as solitary pets.
4×2 C&C Material List
Frame
- 12 wire grid panels for the basic 4×2 perimeter (4 + 4 + 2 + 2 sides)
- grid connectors compatible with your panels
- heavy-duty cable ties for every panel joint as secondary reinforcement
- optional additional grids/hinges/clips for a secure lid if cats, dogs or small children can access the cage
Base
- 1 corrugated polypropylene sheet large enough for the measured interior footprint plus wall height
- straightedge / long ruler
- measuring tape
- pencil or washable marker
- utility knife / box cutter for scoring
- scissors for corner flaps
- strong tape for the outside of tray corners
Habitat layer
- soft absorbent bedding or a properly built fleece-liner system
- at least one secure hide per guinea pig, preferably more
- large hay area / hay access
- water bottles or stable water setup
- food bowl
- tunnels / open-ended shelters
Kavee's current DIY guide uses the same core materials: coroplast, cage grids, connectors, cable ties, tape, a box cutter, scissors, ruler/tape and pencil. Its commercial C&C grids are approximately 35 × 35 cm / 13.7 × 13.7 in.
Grid Safety: Measure the Openings, Not Just the Panel
Storage-cube panels were originally made for shelving, not animals, and grid openings vary. PetMD's current care sheet gives about 1 in bar spacing as a habitat reference. Kavee warns that some standard C&C grid designs can allow small/baby guinea pigs to escape or become trapped and uses fine 2.5 cm “baby bar” mesh for younger animals.
Before you buy grids
- measure the actual opening between wires;
- avoid panels with large openings around the lower perimeter for small/young pigs;
- if you already own larger-opening grids, add an appropriately secure fine-mesh or overlapping-grid barrier at pig level rather than assuming every adult-style C&C panel is baby-safe;
- make sure cut cable-tie tails face outward and are trimmed flush;
- do not use a wire floor—the walking surface must be solid.
If you have a cat, dog or unsupervised young child in the home, an open-top cage is not enough. Add a rigid, securely latched lid that cannot collapse onto the guinea pigs.
Worked Coroplast Cut: 4×2 Cage With 3-Inch Walls
Important: assemble the wire perimeter first and measure the inside edge of the connectors. Kavee specifically warns that nominal grid dimensions can produce a tray that is too tight or does not lie flat.
Example measured interior: about 55 × 27.5 in (140 × 70 cm)
Wall height: 3 in (7.6 cm) on all four sides
Approximate raw sheet: 61 × 33.5 in (155 × 85 cm)
Marking pattern
- Draw the measured floor rectangle in the center of the sheet.
- Add a 3 in / 7.6 cm border around all four sides.
- At each corner, mark flap cuts so the walls can overlap.
- Score the wall-fold lines halfway through the coroplast; do not cut completely through those fold lines.
- Cut the corner flap lines fully.
- Fold the four walls upward.
- Overlap corner flaps and tape them on the outside of the tray.
Kavee recommends 3 in coroplast walls for its DIY blueprints. Higher walls can reduce hay/bedding scatter, but measure sightlines and ventilation before making very tall plastic walls.
Assembly Sequence: Frame First, Tray Second
Lay out 4 grids along each long side and 2 along each short side. Connect the bottom corners first, then top connectors.
Add cable ties even if plastic connectors feel tight. A cage that shifts when pushed is not finished.
Measure diagonals; if the rectangle is skewed, straighten it before cutting the tray.
Measure connector edge to connector edge, not “4 grids × advertised panel width.”
Use the measured footprint plus the wall allowance.
It should sit flat without bowing or pushing the grids outward.
Never leave guinea pigs walking on bare wire or a harsh exposed surface.
Hides, hay, water and tunnels should not destroy the open run lane you just built.
Two-Guinea-Pig Floor Plan: Keep a Run Lane Open
HAY / FORAGE ZONE — large shared hay access, water nearby
OPEN RUN LANE — keep the middle uncluttered for zoomies and passing
HIDE ZONE A — open-ended tunnel or hide
HIDE ZONE B — second independent hide
QUIET CORNER — bed/fleece shelter away from the busiest hay area
Blue Cross recommends multiple resources during introductions—including more than one water source—and open-ended hiding structures so one guinea pig cannot trap another. Those same design principles are useful in an established pair if competition appears.
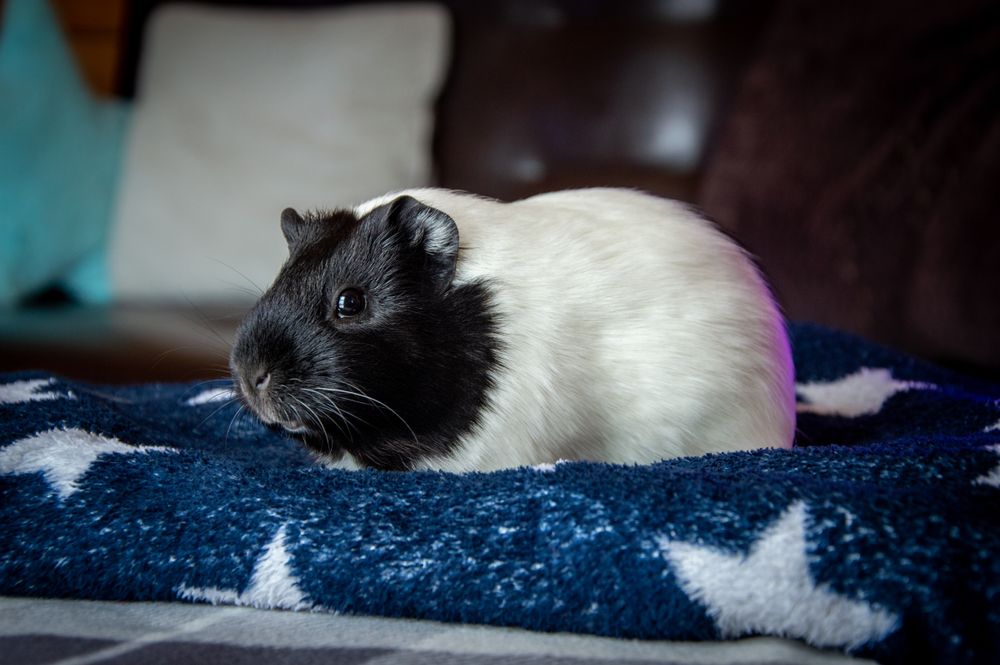
Where to Put the Cage
PetMD recommends a stable indoor environment around 65–75°F (18–24°C) and warns against direct sun, strong temperature swings, heating/air-conditioning vents and drafts. Blue Cross likewise notes that guinea pigs are sensitive to heat and cold.
✓ quiet room that people visit regularly
✓ no direct sun through a window
✓ no HVAC vent blasting into the cage
✓ no loose electrical cords within chewing reach
✓ enough clearance to clean every side
✓ no predator pet access unless the cage has a secure top
Design for Cleaning Before You Add Cute Furniture
Guinea pigs produce substantial urine and feces. PetMD recommends daily waste removal, and PDSA describes daily spot cleaning plus regular full cleaning. A DIY cage fails if you cannot reach the back corner without dismantling half of it.
Build-for-cleaning rules
- keep the cage shallow enough that you can reach every corner;
- make the coroplast tray removable if practical;
- do not permanently glue hides to the floor;
- leave a clear path to lift bedding/liners out;
- keep hay stations removable for cleaning;
- inspect coroplast corners for urine wicking or chewing damage.
Real Build References Without Rehosting Copyrighted Cage Photos
Pexels has excellent guinea-pig photographs but very few clearly documented C&C construction sequences. Rather than rehost commercial images without a license, use these source pages as visual references:
- Kavee DIY C&C guide — materials, grid assembly, coroplast marking, scoring and folding diagrams.
- Blue Cross guinea-pig housing guide — modular indoor housing examples and pair-space guidance.
Use them for visual construction context, while following the measurements and safety audit on this page for your actual build.
Final 15-Point Safety Inspection
☐ Cage floor area matches the planned pair/group, not the pet-store box size.
☐ Main usable area is single-level.
☐ Walking floor is solid and softly lined.
☐ Grid openings have been measured.
☐ Baby/small-pig lower perimeter is appropriately protected.
☐ Every grid joint has connector/cable-tie reinforcement.
☐ No sharp cable-tie tails face inward.
☐ Coroplast tray sits flat without forcing grids apart.
☐ Each pig has access to a hide without blocking another pig.
☐ At least one clear run lane remains open.
☐ Hay/water are easy to reach.
☐ Cage is not in direct sun or a draft.
☐ Electrical cords are outside chewing range.
☐ Lid is secure if predator pets/children can access the room.
☐ Every corner can be reached for daily cleaning.
Build Summary Card
Two females: start around 4×2 C&C / ~10.5 sq ft.
Two males: start around 5×2 / ~13.2 sq ft.
Grid panel example: ~13.7–14 in / 35 cm square.
4×2 perimeter: 12 panels before lid/stand extras.
Coroplast walls: worked example 3 in / 7.6 cm.
4×2 tray example: measure cage first; roughly 61 × 33.5 in raw sheet for a ~55 × 27.5 in floor plus 3 in walls.
Floor: solid + soft bedding/liner; never wire.
Top: optional only in a predator-free secure room; otherwise use a strong lid.